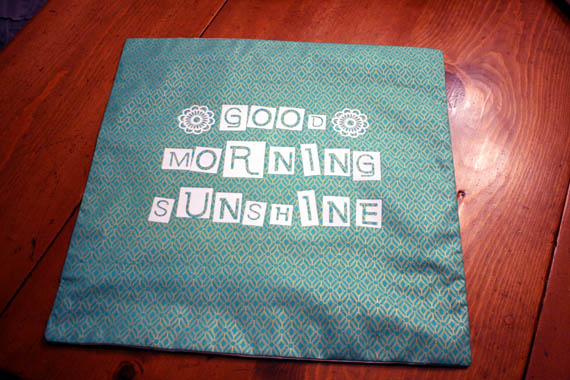
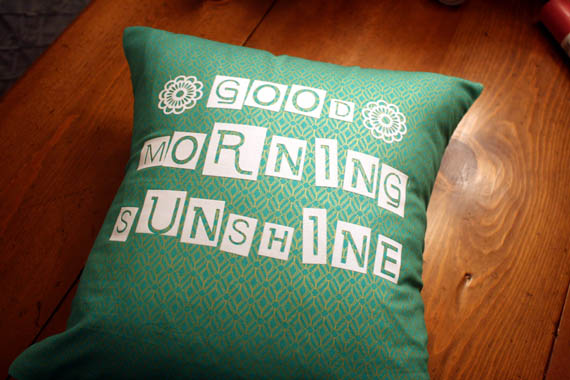
Easiest Pillow Cover Tutorial
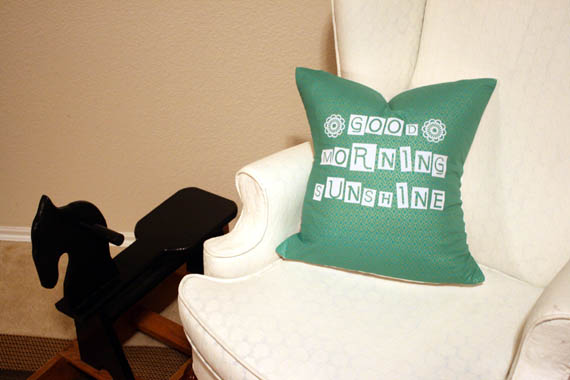
Easiest Pillow Cover Tutorial
(Flocked Heat Transfer optional, but way fun!)
The fabric size will depend on your pillow form. You can do the same fabric for front and back or different fabric, (which I did since this was a “no shopping, use what I have” project!)
2 fat quarters (which are 18″ x 22″ inches) will work on any pillow form up to about 16×16.
Easiest Pillow Cover Tutorial
Step 1.
Iron all fabric!!! Do not skip this step ironing makes every project more professional, and makes sure that things fit properly! IRON like the life of your pillow depends on it!
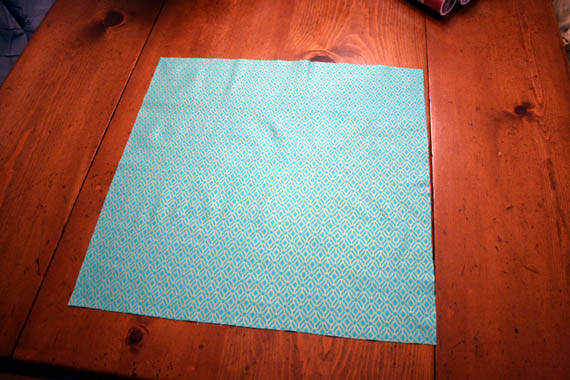
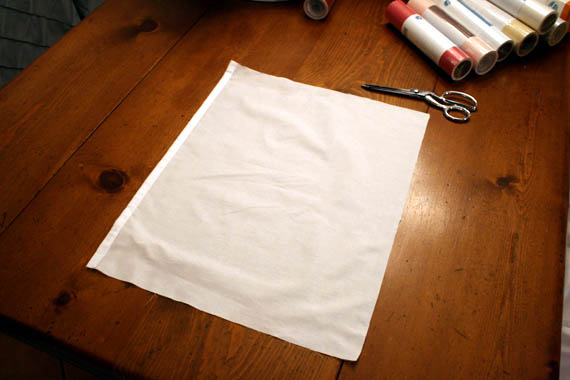
Step 2.
The front piece of fabric should be cut to a square 1 inch more than the size of your pillow. For example if you are using a 16″ x 16″ inch pillow cut the square to 17″ x 17″ inches (piece A).
Step 3.
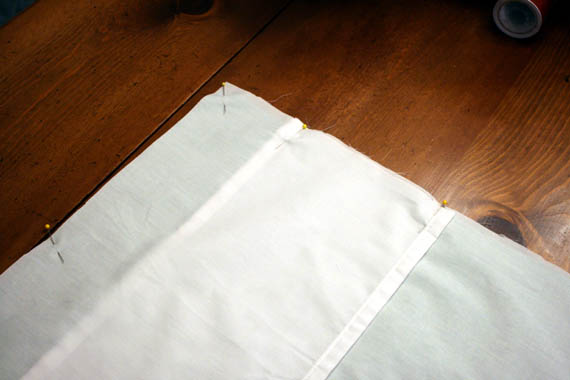
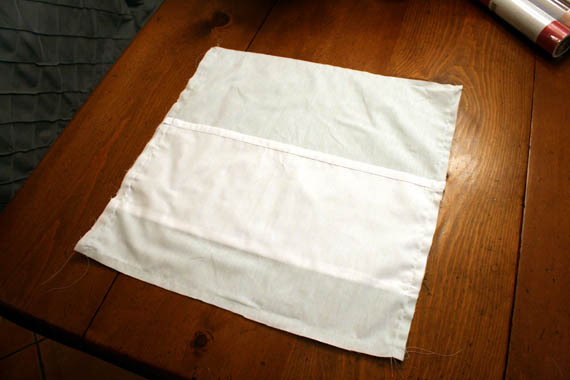
Step 4.
You need to finished one 17″ long edge of those two pieces. By folding over 1/2″ an inch of fabric and ironing. Then folding that again over itself to conceal the raw edge, iron again, (this will make it easier to sew). Pin if you need to to hold it all in place and sew that fold in place. In the end you have a piece that looks like this: See the one finished edge?
Easiest Pillow Cover Tutorial
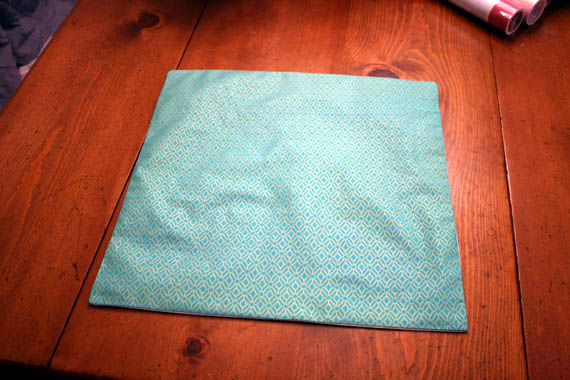
Step 5.
Now place your front piece A fabric, good side up on the table. Place Piece B Good Side down aligning to one side. When sewing remember you want good sides together. You want the folded portion of the edge to be in the center of the pillow.

Step 6.
Overlap Piece C on top of Piece B so that the finished seam is also in the center of the square of fabric. Like below:

Step 7.
Easiest Pillow Cover Tutorial
Step 8.
Step 9.
Cassity Kmetzsch started Remodelaholic after graduating from Utah State University with a degree in Interior Design. Remodelaholic is the place to share her love for knocking out walls, and building everything back up again to not only add function but beauty to her home. Together with her husband Justin, they have remodeled 6 homes and are working on a seventh. She is a mother of four amazing girls. Making a house a home is her favorite hobby.