Build a GIANT Bulletin Board for under $50
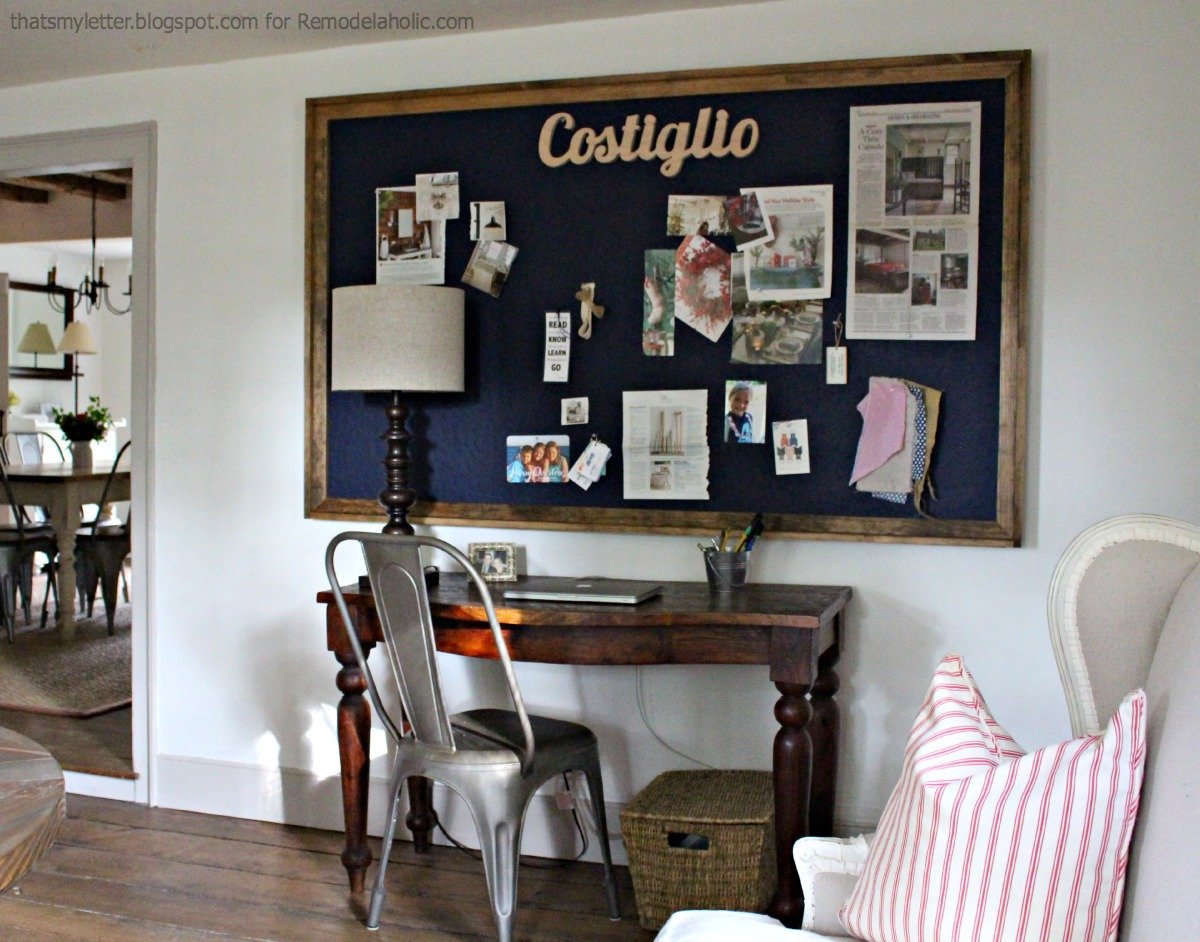
Hi Remodelaholic readers Jaime from That’s My Letter back again for another furniture post and this is one build you definitely want to find a space for! Make this giant framed bulletin board for under $50 and get your workspace up off the desk and visible in a way you never saw before.

This bulletin board here measures 75″w x 45″h and I’m loving every inch of it! Of course now I need a bigger and different desk situation but that’s for another post.


Made from homasote which is much less expensive than cork, stronger than cork and comes in a giant sheet (4′ x 8′) which allows you to make nearly any size you desire. I built this bulletin board to be hung using french cleats. Of course you could always secure the entire board to the wall but the french cleats are much easier to install, especially if you have plaster walls like me :), and allow you to take down the board easily if necessary.

The stained wood frame hides the rough edge of the homasote and gives the perfect finishing touch to make your bulletin board really complete.

How to Build a Giant Bulletin Board
Supplies:
- 1 sheet of 1/2″ homasote (4′ x 8′)
- 3 – 1x2x8 pine boards
- 4 – 1x3x8 pine boards
- 2 – 3/4″ plywood scrap boards (at least 5″ x 24″)
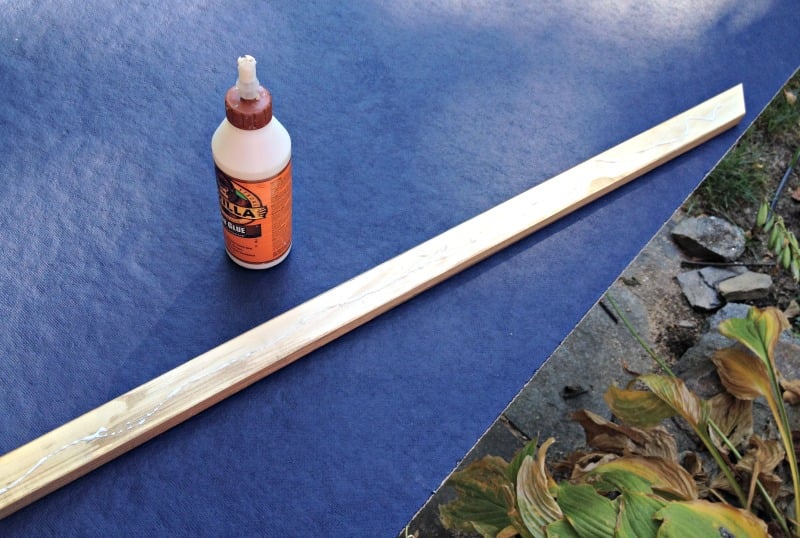
- wood glue
- finish nailer & nails
- drill & bits
- wood screws
- 2 – french cleats
- miter saw
- sandpaper
- circular saw
- paint & roller
- stain & foam brush

Step 1: Cut homasote to desired size.

Step 2: Gently sand pine boards then apply stain with foam brush. Wipe excess and let dry thoroughly.

Step 3: On back of board near top edge at center secure one piece of scrap plywood with glue and countersunk screws. This will hold the french cleats.

Step 4: Near bottom edge at center of board secure other scrap plywood piece. This keeps the entire bulletin board plum against the wall once hung.

Above is the french cleat hardware. I choose to use 2 smaller cleats because my wall is not flat, having 2 cleats allows the bulletin board to give slightly with the wall. Secure one piece of each cleat to plywood scrap as per below.

View of backside of bulletin board with cleat hardware secured to plywood.
Step 5: Paint homasote desired color two coats. Cut 1×2 board with 45 degree mitered corners to fit longer edges of board first.
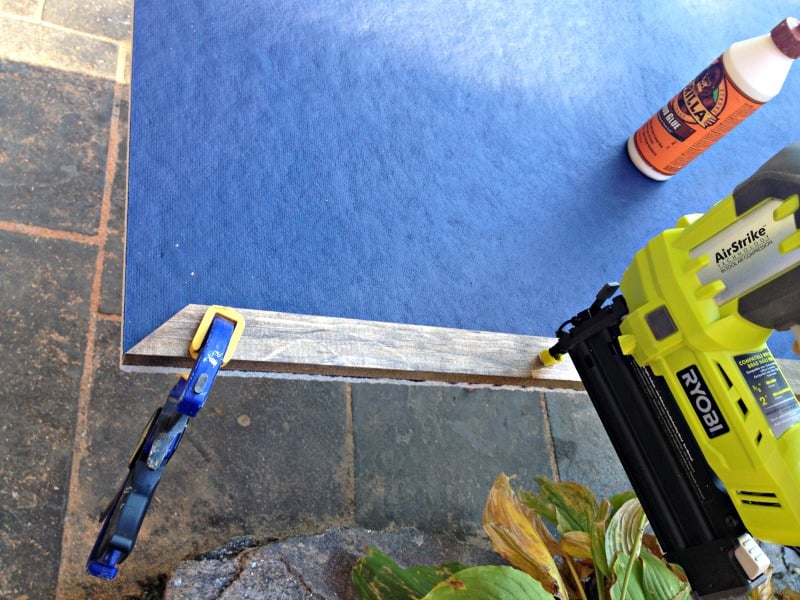
Step 5: Apply glue, clamp flush to edge of homasote then finish nail in place.

Step 5: Drive screws from the backside up into the 1×2 frame portion for added security.

Step 6: Cut 1×3 to fit length of board. Apply glue to edge of homasote and 1×2 frame piece. Place 3/4″ spacer on top of 1×2 frame piece. Hold 1×3 perpendicular and flush to top of spacer board then finish nail into both the homasote and 1×2 frame piece. This gives you a nice 3/4″ lip on interior of frame and also a neat 1/2″ on the backside which covers any view of the hardware from the side.

Step 7: Secure french cleat hardware to wall at desired position to match spacing on back of board, be sure to check for level.

Looking for more diy furniture builds? Below are some recent pieces I completed:

An x base circular dining table that my kids have claimed as a homework station.

A diy classic lemonade stand recently built for a friend’s Fall festival.

And lastly this diy sliding barn door console that I still can’t believe resides in our home!
Thanks for checking in friends.
———————————————–
Looking for more ways to organize your family’s papers and schedules? Try these:
Build a Chic Divided Chalkboard Calendar


Is the 1×2 necessary for strength or is it just for looks? Santa is trying to make these (needing 4!) and the cost is way higher than $50 each. Just wondering if we could cut those out and still be safe. These will go in kids rooms so they will have to be safe!
I know this is an old post, but I was hoping it’s monitored. Where did you buy the homasote? I’m not sure where to find it. Thanks
I just checked and i read Lowe’s.